
Using a ND Filter for Long Exposure Photography | A Guide
What a ND (Neutral Density) filter does and how to use them
I have been using neutral density filters for many years now and have enjoyed the affects you can get from them. A neutral density filter, AKA ND Filter, does nearly exactly as the name suggests - it reduces light, uniformly across the whole image without affecting colour - hence neutral.
However, by causing the camera exposure time to be increased (because it it reducing the intensity of light coming into the camera) it does generally add a slight colour distortion to the image. More so when you are increase the amount of density and even more so if you buy the cheaper ND filters like Cokin.
So why use a ND filter - simply because you like the affects of a longer exposure that flattens out details and creates a greater sense of movement and or contrast between detail and less detail.
Maybe the easiest way to explain this is show some examples:
Exposure 1/13th of a second
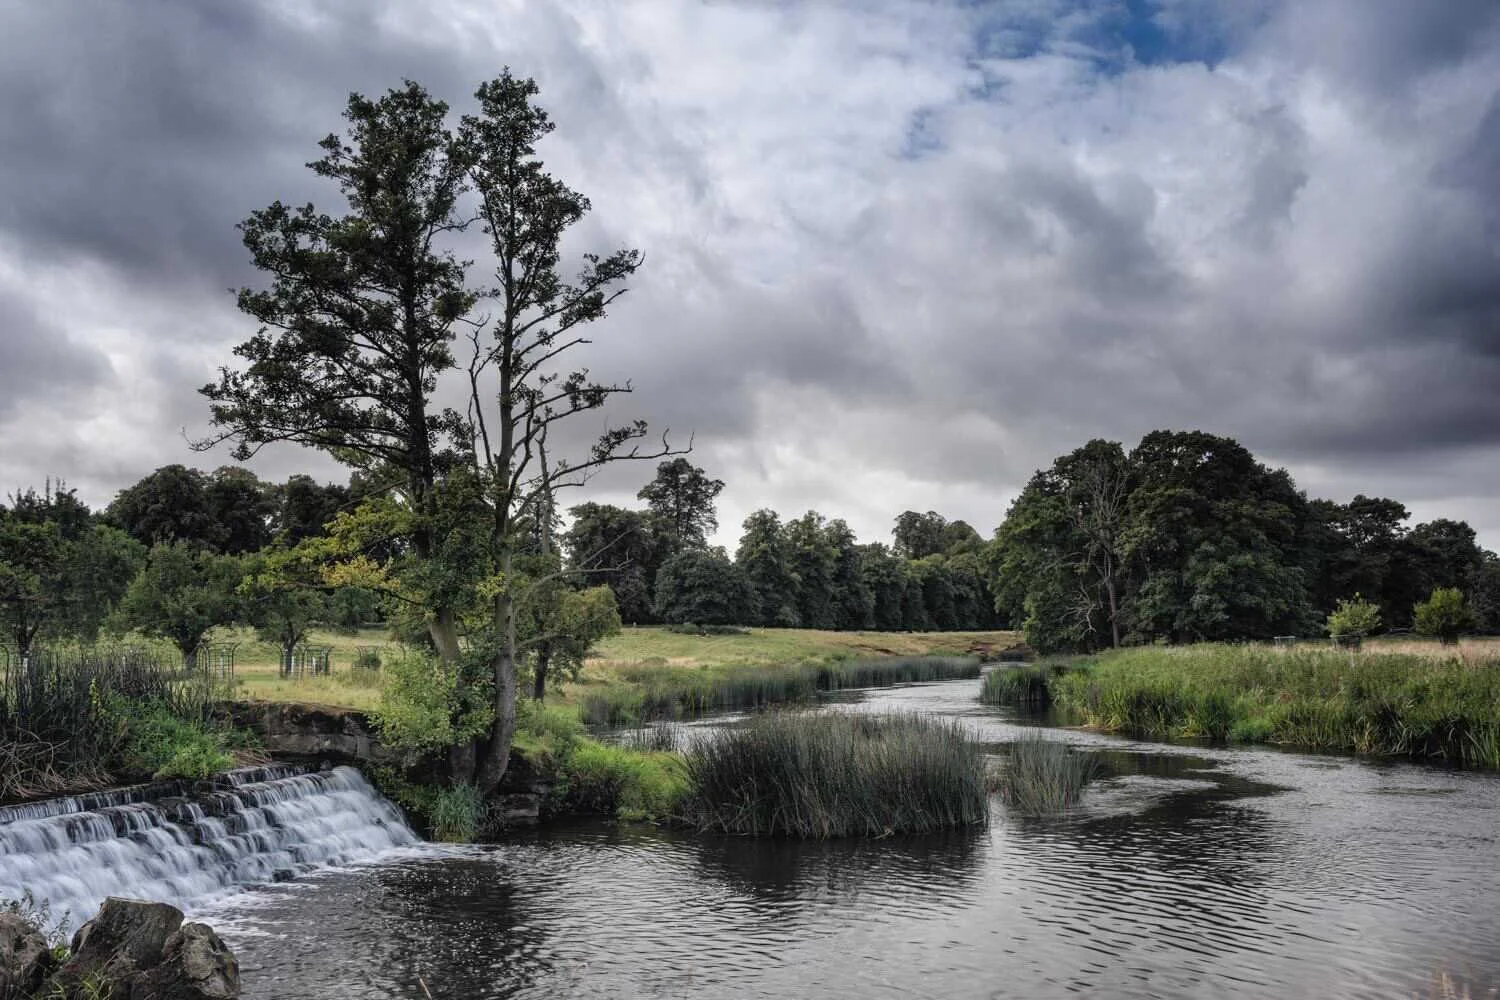
charlecote - standard camera exposure
The image above was taken without a ND filter - standard exposure in Aperture Priority mode on the exposure dial with a 0.75 (2.5 stops) of a graduated neutral density to reduce the exposure level just on the sky - this enables the shadow and mid-tone areas to be exposed for more detail.
Exposure 25 seconds
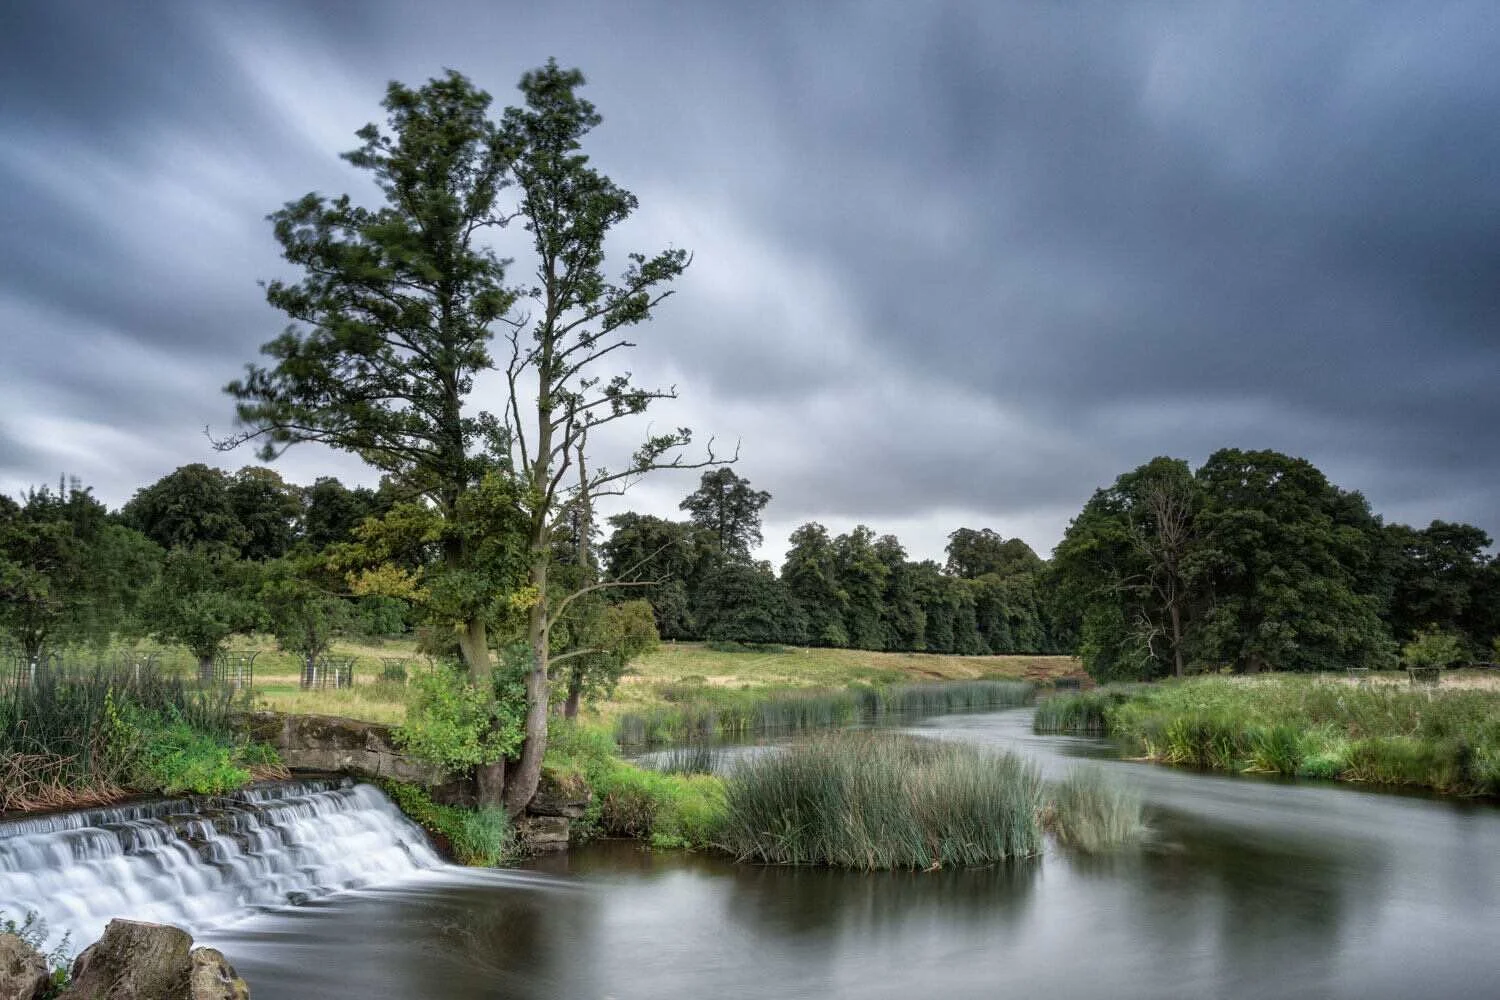
charlecote - using a 6 stop neutral density filter
The second image, above, I added the Lee Little Stopper, which is a 6 stop ND filter. This increased the exposure time to 25 seconds - notice how the sky now looses detail but enhances movement of the clouds and the flow and direction of the water is also enhanced.
Exposure 122 Seconds
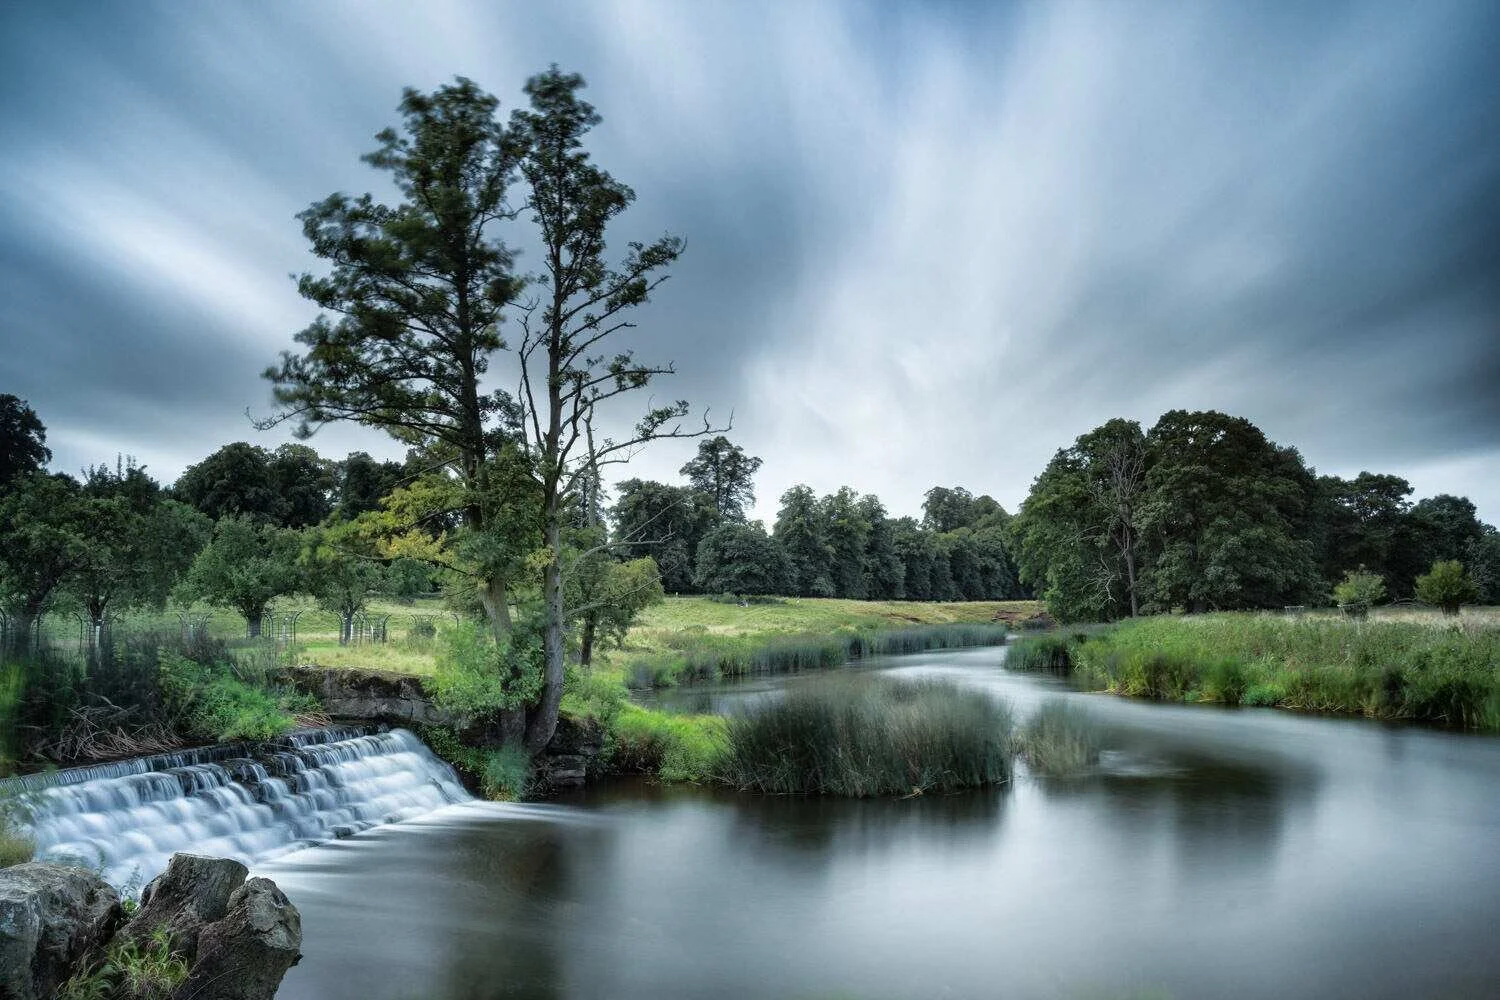
charlecote - using a 10 stop neutral density filter
The third image, above, I used the Lee Big Stopper, which is a 10 stop ND filter. This increased the exposure time to 122 secs (2mins) - notice how the details reduce in the water and sky even more and the colour tone becomes more blue.
How to use a ND filter
Set your composition and shot up as normal, taking time to frame the shot carefully, set aperture according to the depth of field you want and the focus point to achieve the depth of focus.
Take your initial test shot and check the histogram for exposure - use exposure compensation (AV) to make fine tune adjustments up or down to ensure you capture the best exposure possible.
Now make a note of the aperture (F number) and shutter speed that the camera has metered with your exposure compensation added into the equation.
The camera exposure modes, aperture and shutter priority (A or S) can only expose for a maximum of 30 seconds so you may need to switch to manual exposure mode (M) on your dial.
Set aperture to the same as you had in step 2 and change shutter speed to BULB mode.
You can either calculate in your head the exposure time required or use a smartphone app to provide you the extended exposure time based on the density of the filter you are using. example:
normal shot without ND filter - shutter speed = 0.25 @ F16
Using a 6 stop ND means the exposure is extended to
1 stop - 1/2
2 stop 1 sec
3 stop 2 sec
4 stop 4 sec
5 stop 8 sec
6 stop 16 sec
7 stop 32 sec
8 stop 64 sec
9 stop 128 sec
10 stop 256 sec
Smartphone apps - just type in ND on the apps store and there are several apps that you can use that will allow you to input the standard exposure time and convert the required exposure time based on the filters you are planning to use be it - 1 stop, 6 stop or 10 stop or any combination of filters you want to stack together and try.
If the required exposure time with the ND density you have chosen is greater than 30sec then you need to switch to Manual exposure and set the shutter speed to BULB
Before you insert/attach the ND filter set the camera's focus to manual focus, making sure you have already focused.
Now insert/attach your ND filter and using a remote release shutter release and timer (your phone will have one) expose the shot for the required time calculated in step 6.
This should give you a good exposure if A) you calculated everything accurately B) the light didn't change dramatically between taking your test reading in step 3 and the end of exposure time in step 10.
What's the right ND to use?
That's a really easy one to answer - it's entirely down to the affect you want to create - just experiment and have fun. The longer the exposure the greater the affect in the image and therefore its a personal preference and different for every situation.
Remember you can buy ND filters in a variety of density strengths and you can always stack more than one on top of each other to increase the density.
Hopefully this guide will help you enjoy and understand more on the use of ND filters, if you want to practice and find out more about the use of filters and how to use them then sign up for one of my courses or workshops and discover the many ways that you can create more exciting affects on your pictures, in camera!