CLASSES

Beginners Photography Course
Weekly Classes - Coventry

Lightroom Photo Editing Course
Weekly Classes - Coventry

RPS Accreditation
Online Mentoring for RPS

Photography Mentoring
Monthly Assignments


To Shoot Your Products or Services
Professional photos for your product, property, services and company


Table of Contents Show
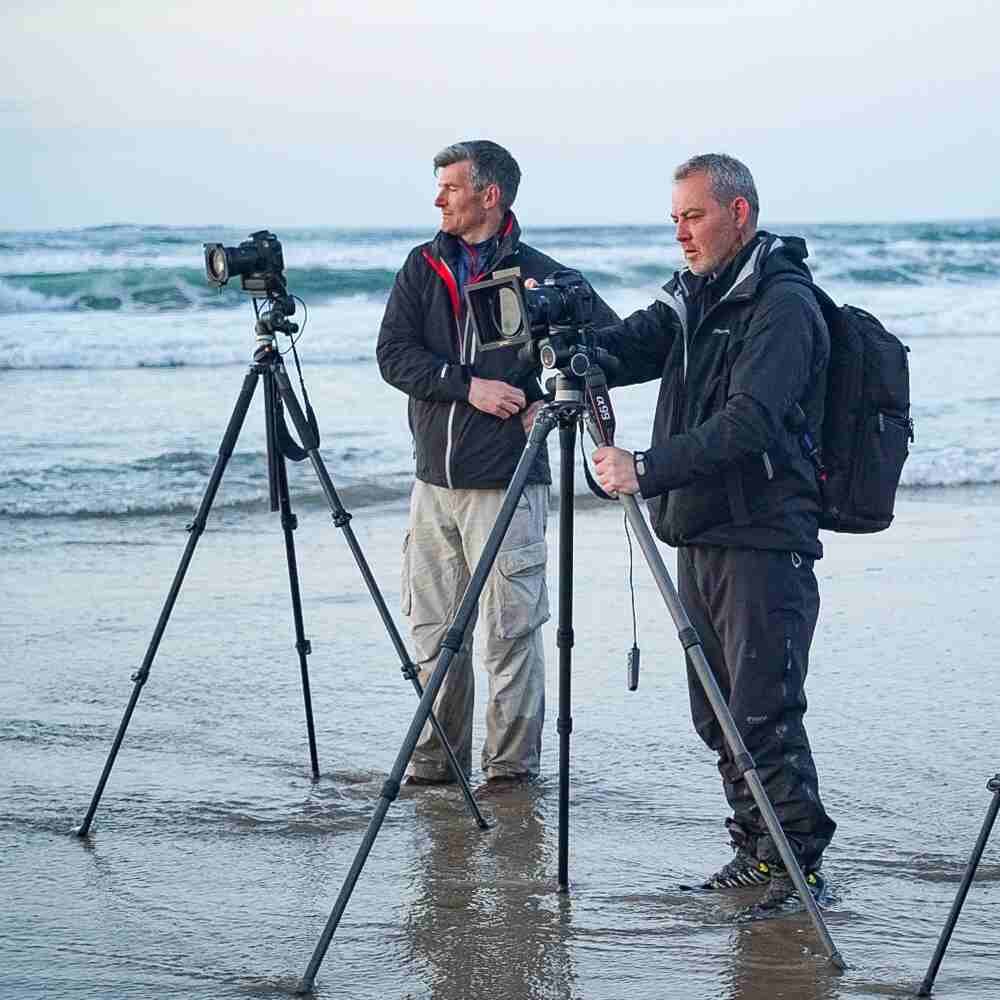
Investing in a high-quality camera tripod is necessary for any photographer aspiring to consistently capture breathtaking landscape photography images. This unassuming three-legged accessory might seem simple, but its impact on your photographic prowess is profound. The best tripod for camera eliminates the risk of camera shake by providing an unwavering, stable platform, ensuring tack-sharp focus and impeccable image quality, regardless of the lighting environment.
However, the benefits of a tripod extend far beyond mere technical perfection. This versatile companion empowers you to slow down, meticulously observe your surroundings, and thoughtfully compose each frame. With the ability to make minute adjustments to panning, tilting, and height, you can achieve tighter compositions, ultimately crafting the perfect shot that encapsulates your creative vision.
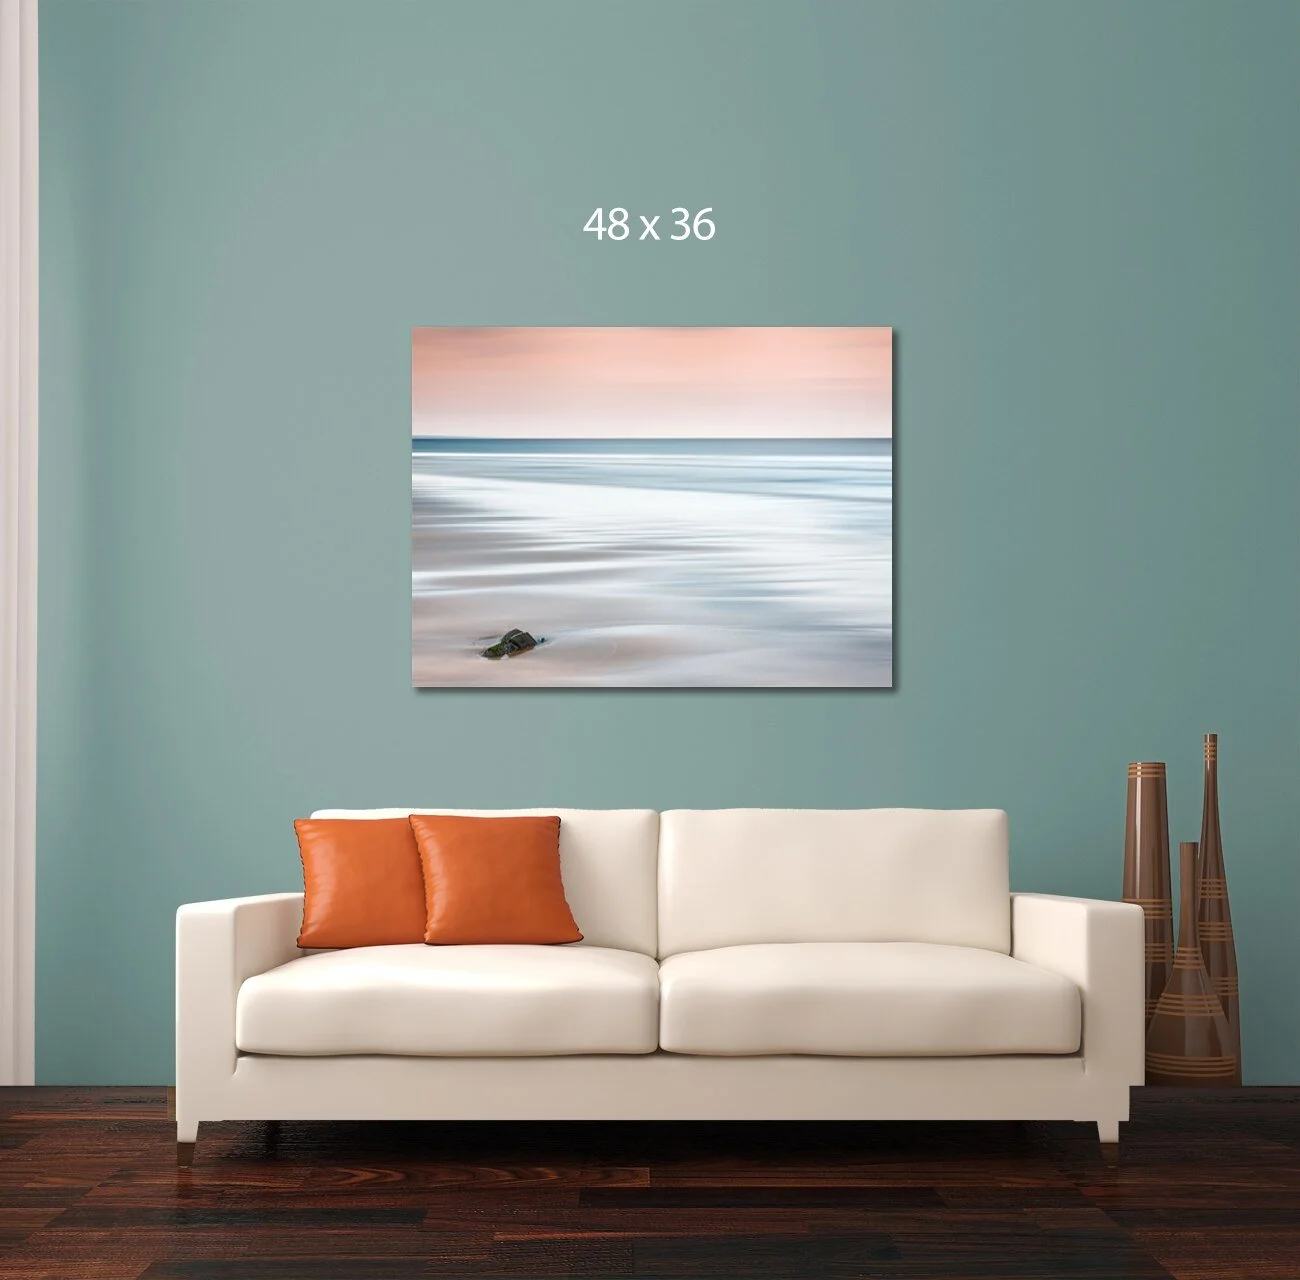
One of the most compelling reasons to embrace tripod use is the opportunity to explore the enchanting realm of long exposure photography. By lengthening the shutter speed, you can create mesmerising effects that transform ordinary scenes into extraordinary works of art. Think of silky-smooth waterfalls, ethereal light trails, or star trails that dance across the night sky – all of these captivating techniques demand the unwavering stability that only a best tripod for landscape photography can provide.
When shooting handheld, achieving maximum depth of field often requires compromising on other essential settings, such as ISO or shutter speed. However, with a best dslr tripod by your side, you can bid farewell to such trade-offs. By combining a small aperture (typically f/8 to f/16) with a low ISO (100 to 400), you can capture images with incredible depth of field, ensuring that every element in your frame is rendered with razor-sharp clarity, from the foreground to the distant horizon.
The applications of tripod use are virtually limitless, spanning a diverse array of subjects and situations. Night photography, macro shots, and panoramic vistas are just a few examples that demand an unnaturally steady hand due to the extended exposure times required. With a sturdy professional camera tripod optimising the effect, you can confidently explore these creative avenues, expanding your photographic range and pushing the boundaries of your artistic expression.
As a landscape photographer, you'll often carry hefty gear while hiking or traversing rugged terrain. In such scenarios, fatigue can become your nemesis, compromising your ability to capture fleeting moments of natural beauty. Counterintuitively, adding a lightweight camera tripod to your kit can actually alleviate this burden. By allowing your camera tripod to bear the weight of your digital camera, you can conserve your energy and avoid the dreaded shaky hands that can ruin an otherwise perfect shot.
Proper tripod use is crucial to ensure optimal performance and longevity. Follow these step-by-step instructions to get started:

Extend the Legs: Begin by extending the smallest bottom legs first. This tripod setup technique helps prevent dirt, sand, and grit from being pushed up into the next leg section, preserving the joints.
Increase Height Gradually: Extend the bottom legs fully, followed by the next section, and finally the top section. This approach saves you from bending down to make height adjustments.
Widen the Stance: Extend the telescoping legs to their widest stopping point at each angle, allowing for maximum stability and wind resistance. Most tripod legs offer two or three additional width positions if needed.
Level the Playing Field: Strive to get the tripod stand for camera as level as possible. Use the built-in bubble level on the tripod head or stand perpendicular to the tripod and visually check if the center column appears perfectly vertical.
Align with Your Subject: Position one tripod leg at the same angle as your lens, with the lens positioned between the rear two legs. This camera mounting position reduces the risk of the tripod falling forward.
Once your tripod for camera is set up, follow these best practices to ensure optimal performance:
Minimise Center Column Extension: Only use the center column as a last resort for extra height. Extending it creates a single point of connection, destabilising the weight distribution.
Balance Heavier Lenses: If you're using a hefty zoom lens, mount it on the tripod using its tripod collar. This redistributes and balances the weight of the camera with tripod and lens. Some photographers use an L-Bracket to allow the camera to be rotated rather than flipping the camera to vertical on the tripod head.
Ditch the Camera Strap: Invest in a detachable camera strap system. Flapping straps can introduce vibrations, disrupt your workflow, and even topple the tripod if caught.
Use a Remote Release Cable: Employ a wireless remote or a self-timer to fire the shutter. This eliminates the risk of introducing camera shake when pressing the shutter button.
Disable Image Stabilisation: When your gear is mounted on a stable tripod for camera, turn off image stabilisation to prevent unnecessary compensation for non-existent movement.
Proper care and maintenance are essential to ensure your tripod for camera remains a reliable companion for years to come. Follow these simple tips:
Allow for Drying: Always leave an inch of the smallest leg extended, even when storing the tripod. This allows time for dirt and moisture to dry and fall off the feet and bottom leg section.
Gentle Cleaning: Clean the tripod with a damp cloth, avoiding soap or other liquids that could damage the materials.
Brush Away Debris: Use a soft brush or an old toothbrush to remove sand and dirt from the tripod leg joints.
Always Stand Upright: Always stand the tripod for camera on its three fully extended legs when not in use. Laying it down on its side can increase the risk of damage to the leg joints and tripod head.
Proper Storage: Store the tripod for camera standing upright, if possible, or laying down in a soft, padded bag in a dry place. This protects it from knocks and accidents while allowing it to dry completely.
With a plethora of tripod brands available on the market, selecting the right one can be a daunting task. Consider these crucial factors to ensure your tripod for camera meets your specific needs:
Your Height vs. Tripod Height Needed
Tripod Height: Ideally, choose a tripod that, when fully extended (without using the center column), reaches your chin level. This height allows you to comfortably operate the camera without stooping or straining your back. Use the chart to match your height to the tripod height needed to be able to stand straight and use your camera on the tripod without having to stoop.
Tripod Weight: While lightweight tripods are convenient for travel, they may not provide sufficient stability for heavier camera with tripod combinations. Strike a balance between portability and load-bearing capacity by considering the maximum load weight specified by the manufacturer.
Budget: Tripod brands prices can vary significantly, ranging from best budget tripods to high-end, professional-grade models. Determine your budget while considering the potential longevity and durability of the tripod.
Longevity: Investing in a quality tripod for camera can be a wise decision, as it will likely serve you well for many years, even as your photography skills and equipment evolve.
Stability: Tripod stability is paramount, especially when shooting in challenging environments like windy conditions or uneven terrain. Look for tripods with sturdy construction, robust leg locks, and vibration-dampening features that showcase tripod toughness.
Flexibility: Consider the range of shots you plan to take and choose a tripod that offers versatility. Features like removable center columns, multi-angle leg positioning, and low-level shooting capabilities can greatly enhance your creative freedom.
Ball Head: Ball heads offer quick and easy positioning but may lack precision for fine adjustments. They often come with a quick release plate for fast camera attachment and removal.
Pan-Tilt Head: These heads provide separate controls for panning and tilting, allowing for precise framing and composition.
Geared Head: Geared heads are the ultimate choice for meticulous composition, offering smooth, incremental adjustments through knobs or gears.
Gimbal Head: The gimbal head provides damped movement of your telephoto lens and camera about the vertical and horizontal axes—similar in feel to a video fluid head.
Tripod Head Options
If portability is a priority, consider these lightweight tripod brands options, ideal for travel photography:
The Benro Rhino Series tripods are a perfect blend of strength and portability. Made from carbon fiber, they feature a built-in monopod, twist-lock leg sections, a ball head, a carrying case, and removable spikes for added stability on various surfaces.

This is a difficult question because there are so many variables to consider and of course tripod brands are always tempting us with their latest and greatest. Therefore I recommend doing your own extensive research before parting with your cash. Remember that tripod legs and heads can be interchanged so consider both of these aspects when choosing which tripod for camera is the best for your needs. You may end up like me with several tripods to use for different scenarios and excursions.
When it comes to landscape photography, having a reliable and sturdy best tripod for landscape photography is essential. Here are the top 3 recommended tripods for landscape photography:
Weight Capacity: 19.8 lbs (9 kg)
Weight: 5.5 lbs (2.5 kg)
Max Height: 170 cm (67 inches)
Key Features:
Quick Power Lock (QPL) levers for fast and secure setup.
90-degree center column mechanism for various shooting angles.
Easy Link connector for adding accessories like LED lights or reflectors.
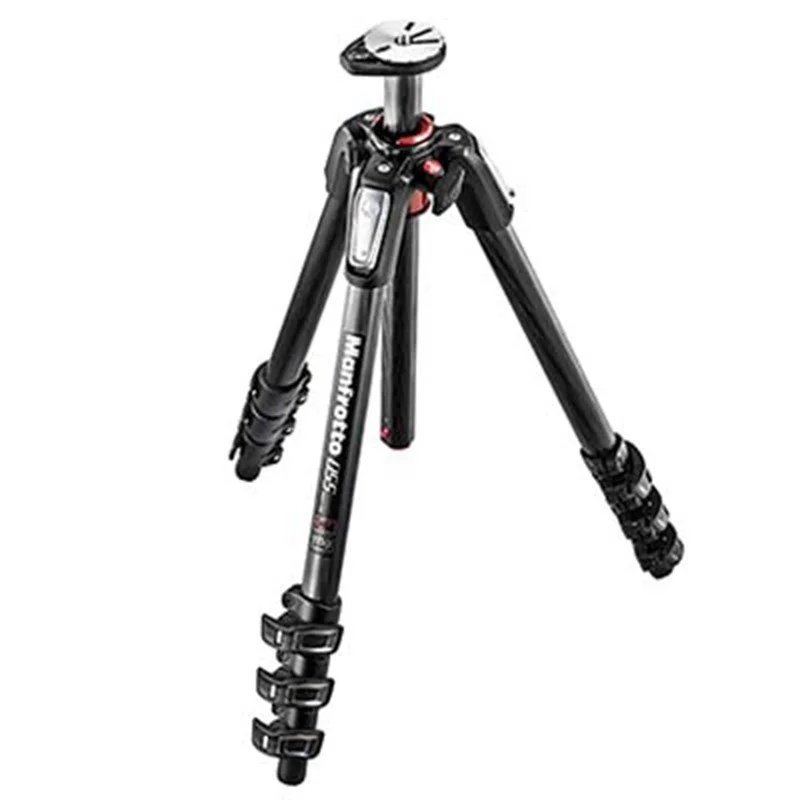
Manfrotto 055 Series Aluminum 3-Section Tripod
Weight Capacity: 39.7 lbs (18 kg)
Weight: 3.7 lbs (1.7 kg)
Max Height: 167 cm (65.7 inches)
Key Features:
Carbon eXact tubes for increased strength and rigidity.
G-Lock Ultra twist locks for quick and secure leg adjustments.
Reversible column for low angle or macro photography.

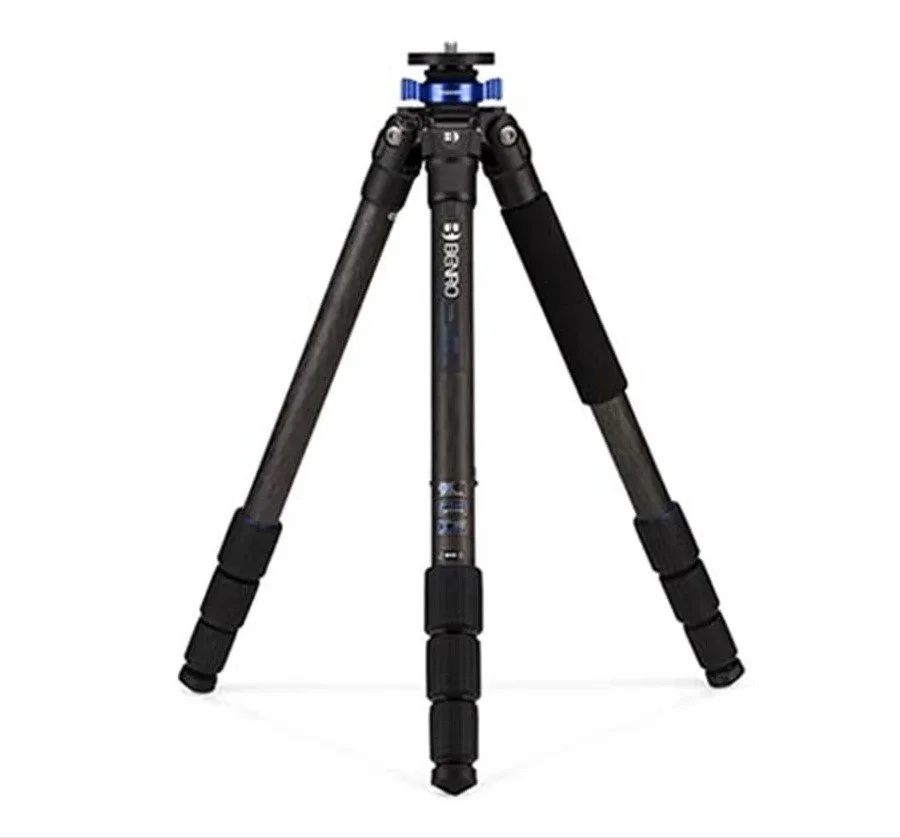
Gitzo GT Series
Weight Capacity: 44.1 lbs (20 kg)
Weight: 5.9 lbs (2.7 kg)
Max Height: 217 cm (85.4 inches)
Key Features:
High load capacity suitable for heavy camera with tripod setups.
Twist lock legs for smooth and quick adjustments.
Spiked feet and rubber feet options for various terrains.
Benro Mach3
The cost of a decent tripod for camera can vary based on the brand, material, and features. Here's a general breakdown:
£50 - £100: Basic models suitable for compact point and shoot cameras and smartphones.
£150 - £250: Good quality tripods with better stability and more features. Suitable for most amateur photographers.
£250 - £500+: Professional-grade tripods with advanced features like carbon fiber construction, fluid heads, and enhanced stability. Ideal for serious photographers and videographers.
Material: Aluminum (cheaper and heavier) vs. Carbon Fiber (lighter and more expensive).
Load Capacity: Ensure it can support your camera with tripod weight.
Tripod Height: Check the maximum and minimum height.
Portability: Tripod Weight and ease of carrying.
Head Type: Ball head vs. Pan-tilt head vs. Geared head.
Gitzo
Benro
Peak Designs
Manfrotto
Investing in a quality tripod for camera can significantly enhance your photography experience by providing stability and flexibility in various shooting conditions.
At tripod is a crucial investment for photographers aiming for perfect landscape images. It provides stability, enabling sharp focus and impeccable image quality, and allows for minute adjustments in framing.
- Enhances **long exposure photography**, enabling effects like silky waterfalls, light trails, and star trails.
- Allows for maximum **depth of field** without compromising ISO or shutter speed.
- Expands your **photographic range**, enabling night photography, macro shots, and panoramic vistas.
- Provides **ergonomic benefits**, reducing fatigue and improving comfort.
Extend the Legs: Start with the smallest, bottom legs.
Increase Height Gradually: Extend the legs from bottom to top.
Widen the Stance: Extend the telescoping legs to their widest stopping point.
Level the Playing Field: Ensure the tripod is as level as possible.
Align with Your Subject: Position one tripod leg at the same angle as your lens.
Minimise center column extension for better stability.
Balance heavier lenses using the tripod collar.
Use a remote release cable to eliminate camera shake.
Disable image stabilisation when the camera is mounted on the tripod.
Allow time for drying.
Clean gently with a damp cloth.
Use a soft brush to remove debris.
Always Stand Upright: Always stand the tripod on its three fully extended legs when not in use
Proper Storage: Store the tripod standing upright, if possible, or laying down in a soft, padded bag in a dry place.
1) What are the benefits of using a tripod for photography?
A tripod provides an unwavering stable platform for your camera, ensuring sharp focus and impeccable image quality. It allows for minute adjustments to panning, tilting, and height, enabling tighter compositions. It's also essential for long exposure photography and achieving maximum depth of field without compromising on other settings.
2) How should I set up my tripod for optimal performance?
Begin by extending the smallest, bottom legs first to prevent dirt from being pushed up into the next leg section. Extend the bottom legs fully, followed by the next section, and finally the top section. Extend the telescoping legs to their widest stopping point at each angle and strive to get the tripod as level as possible.
3) What are some tips for maximising stability and precision when using a tripod?
Minimise center column extension, balance heavier lenses using its tripod collar, remove camera straps to avoid vibrations, and use a wireless remote or a self-timer to fire the shutter. Also, when your gear is mounted on a stable tripod, turn off image stabilisation.
4) How should I care for and maintain my tripod?
Always leave an inch of the smallest leg extended when storing the tripod. Clean the tripod with a damp cloth and use a soft brush to remove sand and dirt from the leg joints. Always stand the tripod on its three fully extended legs when not in use and store it standing upright in a dry place.
60 Articles Free to Access — There is generally less than 10 minutes of reading time per module but enough (8-10 hours in total of reading for self-teaching) to get you started on your journey to understanding photography, camera settings, composition, and creating your vision and style. Read, digest, and practise at your own pace.


Alan Ranger
Author Profile

Alan is a professional photographer and tutor with over fifteen years of experience delivering photography education and commercial photography services across the UK.
Alan Ranger's exceptional professional credentials, accredited by the BIPP (British Institute of Professional Photography), have earned him the esteemed status of an approved photography training provider for renowned brands like Jaguar Land Rover. Moreover, he has had the privilege to deliver more than 30 enlightening lectures on photography education at the prestigious Xposure International Photography Festival in the UAE.
In addition, Alan has mentored and taught over 5,000 photography enthusiasts over the last fifteen years. Through his varied service approaches suited to each individual.
Beyond his professional pursuits, Alan has also collaborated with schools to organise photography workshops for children with special needs. By providing them with this platform, he empowers them to express themselves creatively and discover their unique perspectives through a camera lens.
Environmental consciousness is at the core of Alan's business ethos. He takes great pride in adopting green and responsible practices throughout his operations, ensuring that his business and events maintain a carbon-neutral footprint.
In conclusion, Alan Ranger is an expert in his field and a compassionate educator who believes in photography's transformative power. Through his guidance and support, individuals can unlock their creative potential and embark on a journey of self-discovery in the captivating world of photography.